by Brett Wilson
Tips and Tricks to Better Trail Cam Placement and Pictures
This “How To” is a bit of a follow up to my original article on “How To Build your own Home Brew Trail Camera’s” found here…
http://www.muleymadness.com/how-to/home-brew-trail-cam/
Placement:
Once you have either built or purchased your trail camera, here is a few tips that might help you achieve better success.
- Always try to place your trail cam looking north or south. If faced into the rising/setting sun the light will basically ruin any pictures taken. You make still get pics, but they won’t be very good and will likely be of anything but a big buck. No need to waist battery life
- Try to keep the area in front camera clear of any vegetation that can be moved by the wind. Usually 20 to 30 feet is sufficient. Most of my useless pics are simply of trees, weeds, bushes, etc. that are captured blowing in the wind. Make this a big priority if you don’t want to drain batteries and fill up memory cards.
- Be aware of the sensor distance capability of your camera. Place your camera well within that range. Too close or too far will result in missed pictures. In most cases 10 to 20 feet to the target area with 20 feet being maximum. I personally like to keep my sensor turned down to the lowest setting, I want my pictures to as close as possible, you may or may not want this to be the case for you. I don’t like my camera triggering pictures far away, this can cause the animal to deter ‘off trail’ and not come in for the good close shot. (example pics below)
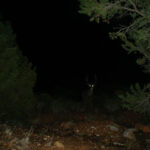
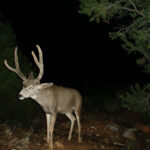
- The average trigger speed (motion to picture taken time) with most cameras is 2 to 5 seconds. Although many brands/cameras are actually improving in this area. Aiming the camera directly across or perpedicular to a trail in most cases will result in missed pictures or a lot of animal rear ends. Placing your camera so it’s looking down the trail (coming or going) whenever possible is much better. This only applies to ‘trail’ situations, when placing your camera on water or salt licks, simply get it the right height level and you’ll be happy with the results. (examples below)

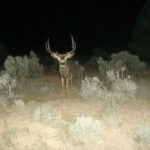
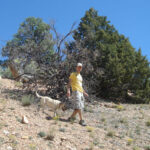
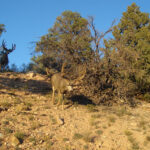
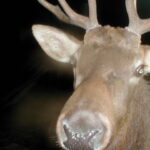
Height of the camera is also huge, here is one tip that has really helped me achieve better pictures. Stand out in front of your camera and act like the big game animal your after, look straight down lens into the shutter (pretend) your the Elk, Deer, or Moose your after and see if it seems the correct height. Remember the key here is look right at the lens, this should be a good height for your camera. If the animal lifts his head up and looks at the noise, light, etc. your shot should be about perfect. (example above left & result)
- IR cameras tend to spook deer less in my experience, however I prefer colored non-IR pics. They can spook deer a bit more, but I’ve still managed to get lots of good pics. You may need to move your cams around different trails a bit if they are veering off trail to much.
- When cams are placed on water, or salt blocks I’m not noticing deer spooking much at all; only in trail situations.
Mounting:
- The advertising for most store bought trail cameras always show the camera mounted to a tree. This is acceptable if the tree is in the 8 to 10 inches in diameter. However most of my trail cams are NOT mounted to a tree.
- If you do mount your camera to a tree, make sure it’s big enough that it doesn’t blow in the wind also, this can trigger false images also. Make sure the limbs of the tree are cut back as to not trigger false pictures, I’ve had many of these and learned through trial and error myself.
- The best solution I have come up with is to build my own stands, check out the how to for these here, I want to warn you here though this can be a big danger as this makes it much easier to steal the trail cam. However the placement and mounting of my trail cams has become a very quick, easy, and effective method which I love. My stands are 3 pronged made out of rebar and then stamped/staked into the ground by foot.The camera stands are not affected by the wind and when placed next to a tree, sage brush, rabbit brush, etc. provide good concealment
- Mounting height can be from 24 to 40 inches. When mounted low, small game like squirrels, rabbits, birds, rats, even mice will trigger the camera. In most cases these small game/rodents will be missed if the camera is mounted a little higher.
- With the IR flash cameras in movie mode, a flickering red glow is put off by the camera. This glow can have some effect on the deer and at times may spook them. However I find this to be the exception to the norm. In most cases the deer seem to be simply curious by this, or simply don’t care. (Check out this short video clip shot with IR to see what I mean.)
- Remember to look directly at the camera lens (eye level) for all your frames and video.
Camoflauge:
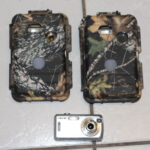
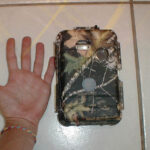
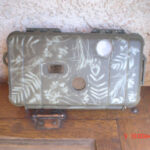
A lot of the newer cameras on the market today, now come camouflage ready. I personally like to camoflauge my own if not. I’ll include a few pics of some I have done, they aren’t anything special but mainly I’m trying to disguise them more from other hunters, hikers, etc. than from deer and big game.
Security:
- Unfortunately trail cams have become a hot item for theives, luckily (knock on wood) I haven’t lost one yet.
- In some cases I have used the camouflage tape, custom camo paint job, even 3D paint job (see picture included).
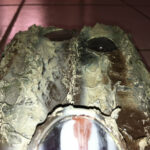
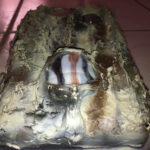
- The most effective method I found to mount and secure my trail cams is to use the small bungee cords (I found them in Home Depot) around the camera and use the vegetation to disguise your camera.
- In real problem areas try using a well disguised camera to watch a another camera.
- Good locking devices and camera cages are a must. Most of the manufactures have a security box that can be purchased to fit the camera
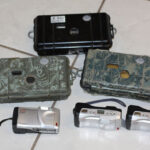
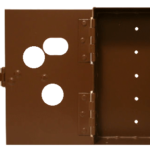
- In the cases where a locking cage is not available you can build your own. (See pictures included)
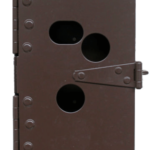
- I prefer cables over chain because they are a little harder to cut with a bolt cutter

- MasterPython locks seem to work the best in my case.
- When you unpack your new camera in preparation to take it to the woods, take the time to record the serial numbers and scratch in an identifying name or number so if lost those numbers can be reported to the authorities.
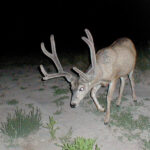
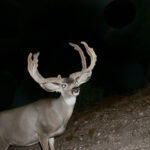
Image Gallery: (some of my fun pics) – Do I have more? TONS, I’ve been very blessed and fortunate to not only have fun but get some awesome pictures over the years. 🙂
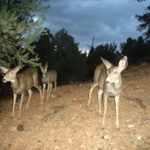
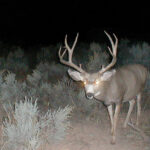
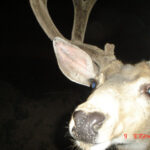
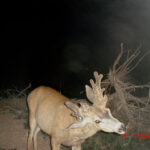

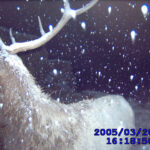
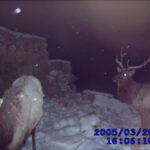
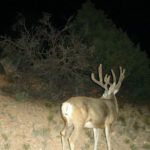
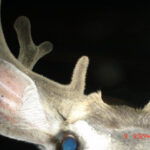


Great article, one thing that I do whenever possible is find a large tree to place the camera in and use about 4 of the tree stand climbing pegs to put the camera off of the ground by 10 to 12 feet. Then I take the steps and hide them away from the tree, even if someone sees the camera it is hard for them to reach.
Great read! I’m looking to get into using trail cameras a bit more. I’ll take your advice.
Any tips on use of the Python cable? seems like a clumsy way to use the lock. Is there an easy way to use it? t
Great stuff, thanks for all this info. I’ve been putting your advice to use.
How long do you like to leave your cams out? And how much should we worry about scent control when placing trail cams? Would our scent on the the device itself, or on the trail coming and going from the location, spook mule deer significantly while the cam is left there?
JT,
I like to check my cams every 3 weeks or so. Some guys like to leave them in the field for LONG periods of time but that’s just not me. The scent has been a complete NON issue meaning nope I don’t worry about it at all and have had great success. No it doesn’t spook the Mule Deer.
To add my $0.02 to muleymadness… I like to go 3-4 weeks between checking & the primary reason for that is to clear the memory card and check the batteries.
I also prefer to check my cameras during the heat of the day, this way I’m not disturbing the animals during their peak movement times.
I’ve never had an issue with scent. I have pics of elk licking my cameras just a couple hours after checking them.
I have TONS of deer tracks everywhere, a salt block out and I leave my camera up for 2 1/2 -3 weeks and I have maybe 300 pictures, but most are wasted on nothing. I’ve cleared the spots in front of my camera and it still take pictures of nothing.
Also, what would you recommend to bring more deers in during spring? I’ve put apples out, but that doesn’t seem to be taking affect.
Katelynn,
Your talking Mule Deer correct? They LOVE apples, never seen one that doesn’t? 🙂 Sounds like you might need a new trail cam, it’s getting false triggers or tripped to easily. Try turning your motion sensor down to lower setting. Trophy Rock works excellent. What state are you located in?